FRED Mini-Vac II Help & Support
MENU ☰

Learn how to get the most out of your FRED Mini-Vac II and troubleshoot common problems.
See our help topics and support videos below, and download the FRED Mini-Vac II product guide and owner's manual.
How to..
Unpack Unit
- Inspect carton for any possible damage during transit and remove packing material.
- Do not tip or invert while handling.
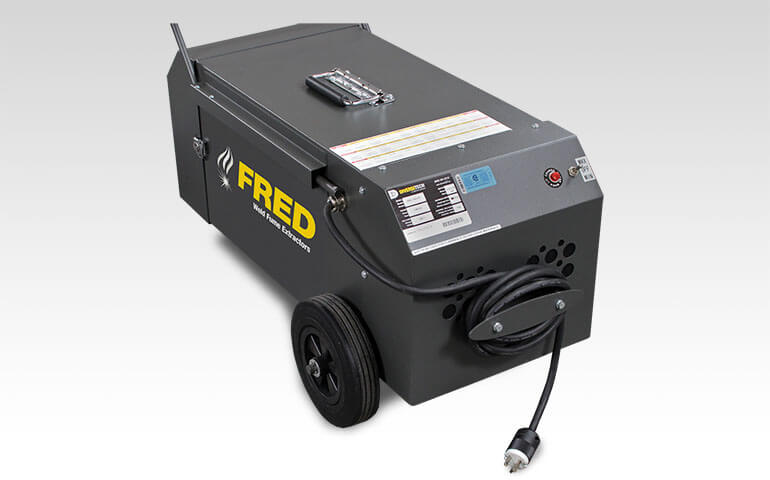
- Locate item serial number, model and electrical ratings on the nameplate. Write down this information on the provided Maintenance Record found in your owner’s manual.
Location Selection
- Designate a location for the unit near the operator that is sufficiently close to a grounded power source.
Before you use your unit, you’ll want to perform a function test to verify it’s in working order. To do so, follow the below 5 steps:
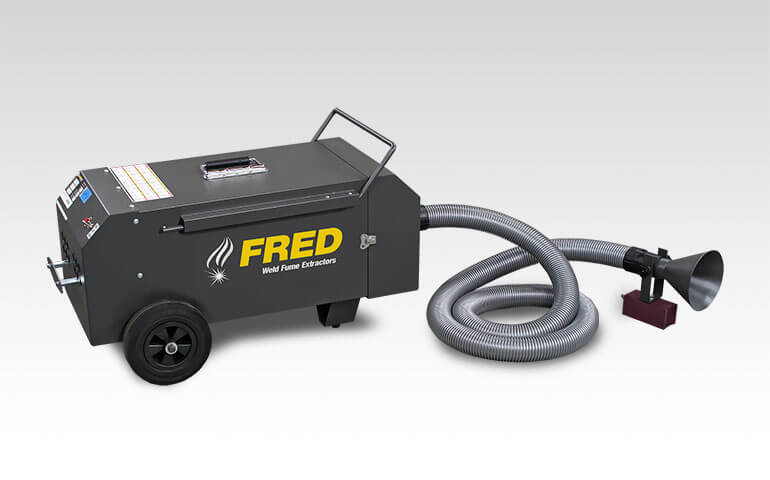
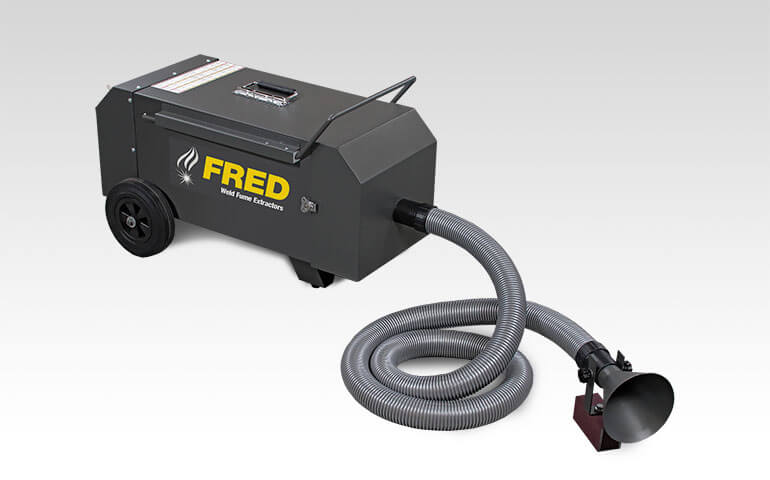
- Inspect flex hoses for damage.
- Turn suction to “On”.
- Look to confirm that the unit is level and stable. Verify nothing is obstructing the extraction path.
- Listen closely to the suction sound of unit. Confirm that they are in within the expected volumes.
- By placing your hand on top of the unit, feel for any unexpected vibration. Place your hand in front of the intake hood/surface to confirm the expected levels of suction.
Filter Replacement
- Service filter when filter monitoring light goes on.
Yearly Inspection or After Servicing Filter
- Clean labels and exterior surfaces.
- Check for tears in flex hoses and fitting of hose clamp.
- Remove collection hose and wash with warm water mixed with mild detergent (Allow 24 hours to dry before use).
- Inspect cabinet for loose wiring or cracked insulation.
- Examine vacuum motors for signs of unusual wear.
Servicing Filter
Service filter when Filter Indicator Light comes on.
- Review Maintenance Safety in owner’s manual.
- Turn off power and disconnect input power cord.
- Detach front body:
- Unclasp twist-lock latches located on sides of the main body.
- Remove Filter gently and place in a bag/container.
- Clean filter:
- Use clean/dry air only at a pressure not more than 80PSI at 12” from media.
- Direct the compressed air through the filter from the clean side, running the nozzle up and down filter pleats.
- Do not bring either nozzle in contact with the filter media as damage is likely to occur.
- Inspect filter for any damage and replace if necessary.
- Clean cabinet interior of dirt and debris.
- Reassemble:
- Install the clean filter.
- Reattach the front body.
- Re-engage the twist-lock latches on each side of the main body.
- Turn ON unit and check Filter Indicator Light. If lamp is illuminated, repeat all steps above.
Troubleshooting
- Check input power and confirm correct voltage.
- Check to see if filter light is on:
- If yes, service filter.
- If the problem continues, contact Diversitech support for assistance.
- Inspect nozzle and hose. Clear debris debris if any.
- If the problem continues, contact Diversitech support for assistance.
- Perform routine maintenance on unit.
- If the problem continues, contact Diversitech support for assistance.
- Your filter is clogged and needs to be serviced. Service filter.